Step 1. Prerequisites
Step 2. Importing Virtual Machine
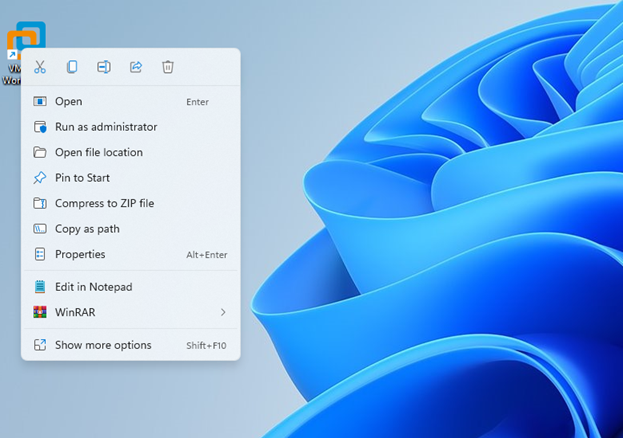
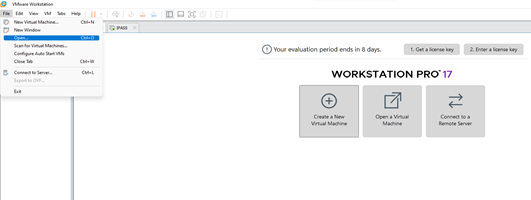
2.1. Open your virtualization software (VMware Workstation, VirtualBox, Hyper-V, etc.).
2.2.
Locate and select the option to import a virtual machine.
2.3 Choose the provided. ovf or .ova
file.
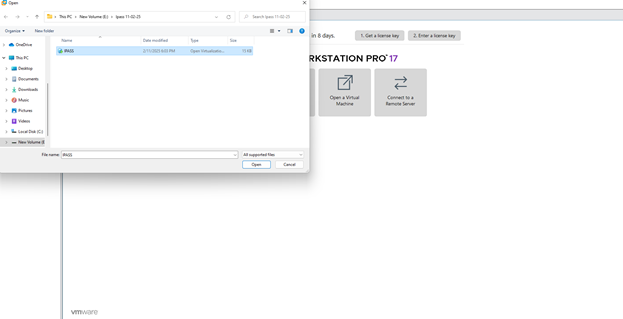
2.4 .Follow the import wizard and set
the VM name and storage location.
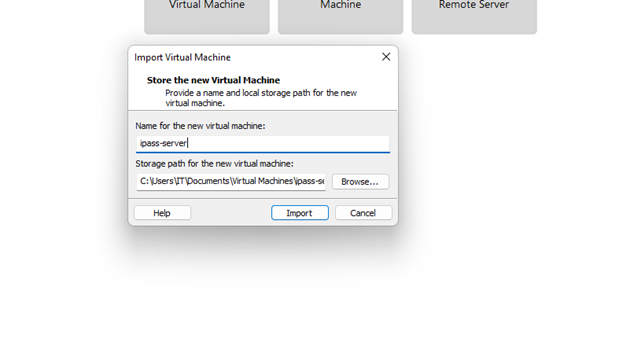
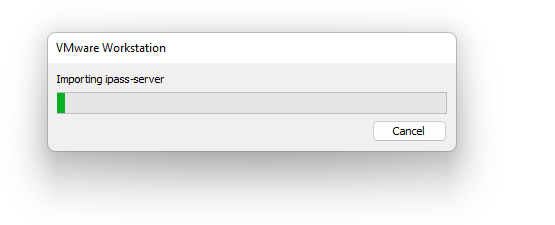
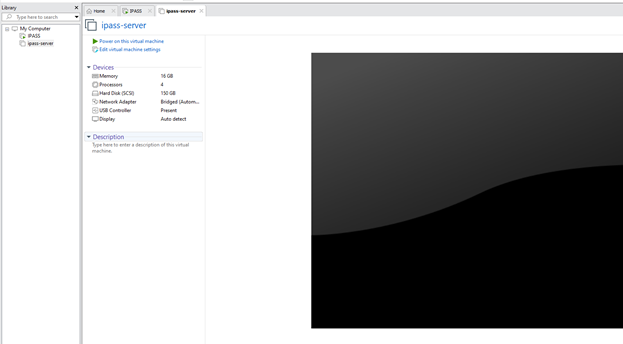
2.5. Click Finish to complete the import process.
![]()
2.6. Start the VM by clicking Power On.
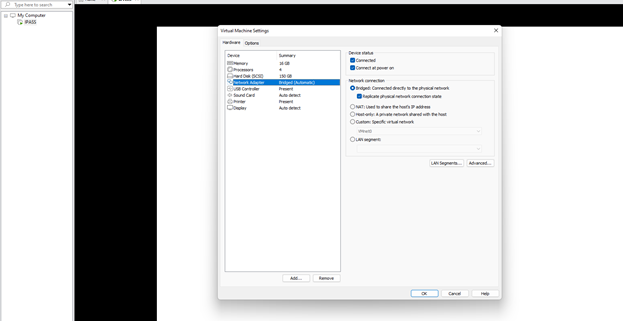
Step 3. Configuring Network Settings
3.1: Ensure the VM is connected to Bridged Network (or
equivalent) for external access.
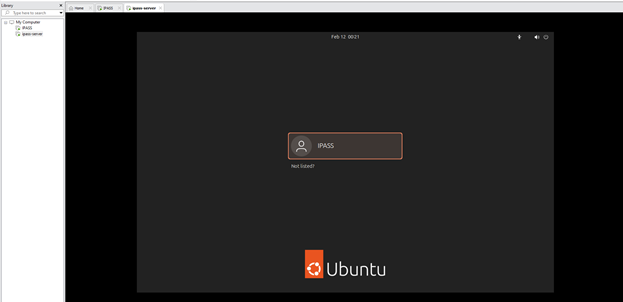
3.2: Log In VM Using Credential Given
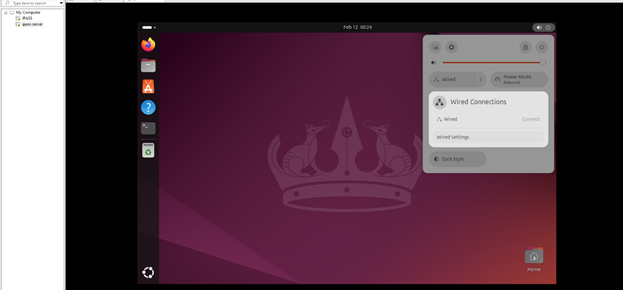
3.3: Click on Power Button and Wired Connection
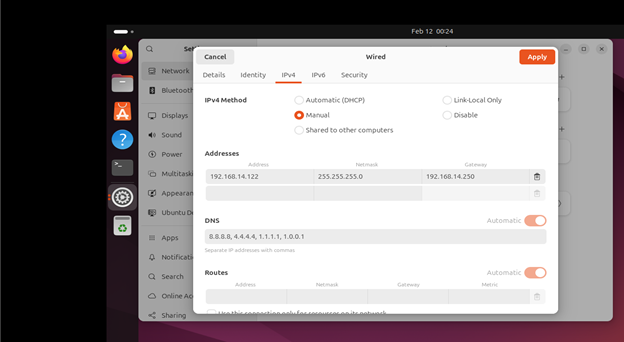
3.4: Click on Ipv4 tab and enter own IP , Subnet Mask , Gateway and DNS address here
3.5: Click on Details and check and note IP address

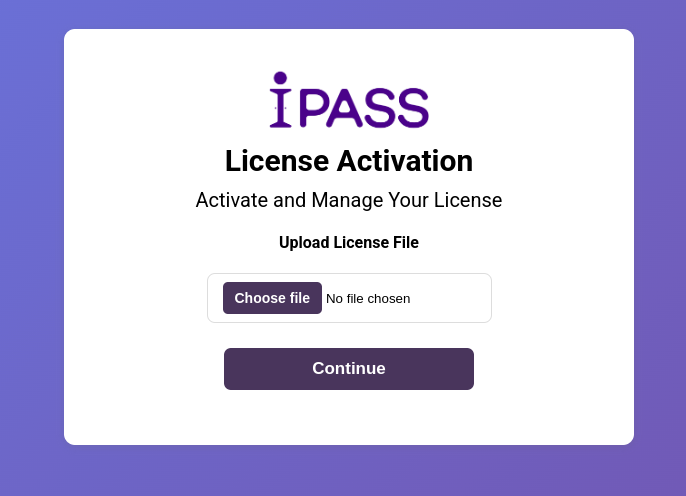
Step 4. Accessing the Application
4.1: Open a web browser on the
host machine.
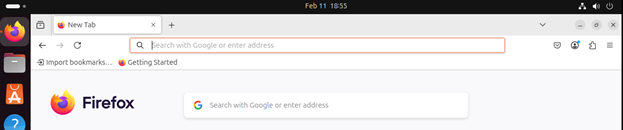
4.2: Enter the VM’s IP address in the browser using HTTPS:
https://<VM-IP>
(Replace <VM-IP> with the actual IP of the VM.)
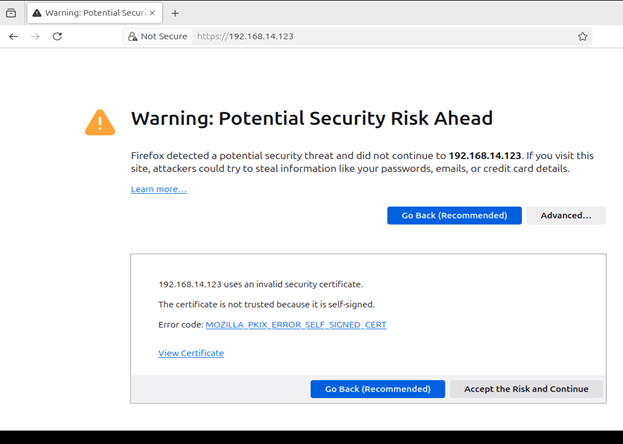
4.3: Since a self-signed SSL
certificate is installed, the browser may show a security warning.
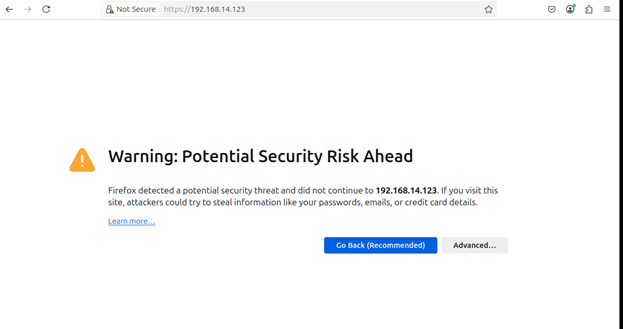
4.4: Proceed by clicking Advanced
and then Continue to Site.
4.5: The application should now be accessible.
Step 5. Troubleshooting
![]()
Step 1. Prerequisites
System Requirements
A Windows system with Hyper-V enabled.
.vhdx file of the VM provided.
Minimum hardware specifications:
16 CPU cores
32 GB RAM
500 GB Storage
Enable Hyper-V (if not enabled)
Open Control Panel > Programs > Turn Windows features on or off.


Check Hyper-V and all
its subcomponents.

Click OK and restart the computer if prompted.
![]()
Step 2: Creating a New Virtual Machine with the VHDX File
Open Hyper-V Manager.

Click New > Virtual
Machine in the Actions panel.

Click Next and provide a
name for the VM.


Select Generation 1
Assign at least 32 GB RAM
to the VM.

Choose Use an existing
virtual hard disk and browse to the provided .vhdx file.

Click Finish to complete
the VM setup.

Start the VM by selecting it
and clicking Start in the Actions panel.
![]()
Step 3: Configuring Network Settings
Step 3.1: Creating an External Virtual Switch
Open Hyper-V Manager.
Click Virtual Switch Manager
from the Actions panel.

Select New Virtual Network
Switch.
Choose External and
click Create Virtual Switch.

Provide a name (e.g., "External Switch").
Select the appropriate physical
network adapter under External Network.

Click Apply and then OK.
Step 3.2: Assigning the VM to the External Network
In Hyper-V Manager, right-click on the VM and select Settings.
Under Network Adapter,
select External Switch (the one created in Step 3.1).

Click Apply and then OK.
Step 3.3: Configuring the IP Address
Start the VM and log in using
the provided credentials.


Click on the Power Button and select Wired Connection.
Go to Settings >
Network > IPv4 Settings.

Manually enter the:
IP Address
Subnet Mask
Gateway
DNS Address
Save the settings and restart the VM.
Click on Details to verify and note the assigned IP address.
![]()
Step 4: Accessing the Application
Open a web browser on the host machine.
Enter the VM’s IP address in the browser using HTTPS:
https://<VM-IP>
(Replace <VM-IP> with the
actual IP of the VM.)

If prompted with a security
warning due to a self-signed SSL certificate, click Advanced
and then Proceed to Site.

The application should now be accessible.
![]()
Step 5: Troubleshooting
If the application is not loading:
Verify that the VM is powered on and running.
Ensure the VM’s network adapter is connected to the External Switch.
Confirm the VM’s firewall settings allow HTTP/HTTPS traffic.
If you cannot access the VM’s IP:
Check the network configuration in Hyper-V Manager.
Restart the VM and verify the assigned IP.
Run ipconfig inside the VM to confirm the correct IP address.
![]()
This completes the deployment of the IPASS VM on Hyper-V with external network access using a .vhdx file.